Search For Locations – Add Location
This document walks through the process of adding a new location in eQuip using the Search For Locations workflow
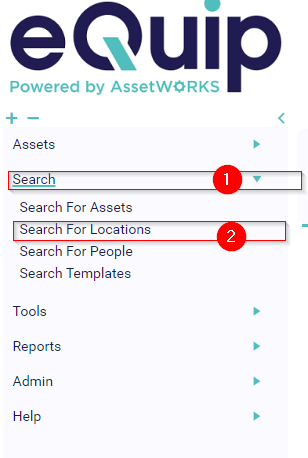
- Go to SEARCH > Search For Locations

- On the next screen choose Add Location

- On the next screen enter or choose values for at least the required fields
-
- Location Name
- Location Barcode
- Site
-
- Location Category
- Enter the name of the location
- Enter the location barcode for the new location
-
- This barcode will appear at the beginning of the individual asset barcodes that are stored in this location
- Choose the Site that the new location will be associated with from the dropdown list
- Choose Select Category
-
- In the window that appears choose one of the available categories
-
-
- Choose OK
-
- Choose the Office Details tab
- There is additional optional information on the Office Details tab to complete if necessary
- When you are finished entering information for the new location choose Save
The new location now exists in eQuip and assets can be assigned to this location as necessary
